August 3, 2021
Sharing, editing, collaborating. Google Docs helps teams everywhere work together on all types of content. While similar to Microsoft Word, there are many additional features you can use to increase efficiency and communicate clearly. We’ve compiled a list of tips and best practices to help get you started.
QuickLinks
- Take advantage of lesser-known features
- Leverage proofing or restricted modes
- Navigate a long document with Document Outline
Take advantage of lesser-known features.
These quick tips, tricks, and shortcuts will help you work faster and collaborate better.
Create new docs without opening Google Drive.
Simply open a browser and type the URL docs.new to create a new document. This also works for Google Sheets (sheets.new) and Slides (slides.new).
Move files to different folders seamlessly.
Right after you create a document, click the folder icon at the top (to the right of the document name) and select which folder you want to move it to. No more digging through your Drive to find and move files.
Save an image to your computer.
You’ll notice there’s no “Save” option when you right-click on an image within a document. The trick? Hold down the Shift key, right-click, and then select “Save As”.
Turn off comment notifications for a document.
Your inbox can quickly become cluttered with Google notifications. Open comment history (Comment icon in top right), select the notification icon, and then select None. This turns off notifications for this document only—so far there is no universal setting for all Google docs.
Stay organized with Horizontal lines.
Horizontal lines are great for visually breaking up sections of your document. Simply go to Insert at the top and select Horizontal Line from the dropdown.
Lookup a word’s definition.
See a word you’re not familiar with? Right-click on the word and select “Define [word]” and the definition will pop up in the toolbar on the right.
Copy and apply text formatting.
There’s no need to change font color and size individually to match what’s already formatted somewhere else in your doc. Click the Paint Format icon to copy the formatting of whatever text you select—your cursor will change to a paint roller icon. Then highlight the text you want the format applied to, and when you release the cursor, the formatting from the original text will be applied to the selected text.
To change the formatting in multiple places, double-click the Paint Format icon. You'll enter a mode that lets you apply the same formatting to multiple selections without having to select the icon each time. When you're done, click the Paint Format icon to turn it off.
Leverage proofing or restricted modes.
Editing is the default mode, but there are two other modes and each one has its benefits.
To change modes, select the pencil icon in the top right corner.
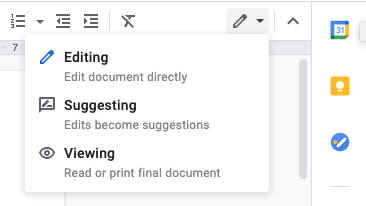
Suggesting—All edits made to the document show up as suggestions.
This is a great mode for proofing. When reviewing suggestions, you can accept or reject each one individually or all at once. To accept or reject all, go to Tools and select “Review Suggested Edits”. Note this only works for edits made in the Suggesting mode—any individual comments made in Editing mode have to be accepted or rejected individually.
Viewing—A view-only mode where no edits can be made.
This mode can serve as a good print preview for final proofing. Also, when you share a document with someone, you can give them View-only access so they are unable to make any changes to your document.
Open Share and then click the down arrow by “Restricted” and change it to your business group or “Anyone with the link.” Anyone who has access to the link will be able to View only.

Navigate a long document with Document Outline.
If your document contains a lot of content, set up an outline to keep it organized and manageable, especially if it’s a shared document that multiple people will use.
A document outline is made with Headings. Like anchor links on a web page, a document outline contains links to text with Heading styles so you can easily jump to those sections.
To view the Document Outline, click the bullets icon in the upper left.

All Headings will show up in the document outline on the left. To apply a Headings style, select the desired text and open the “Styles'' dropdown in the editing toolbar. Select which Heading style you want to apply.
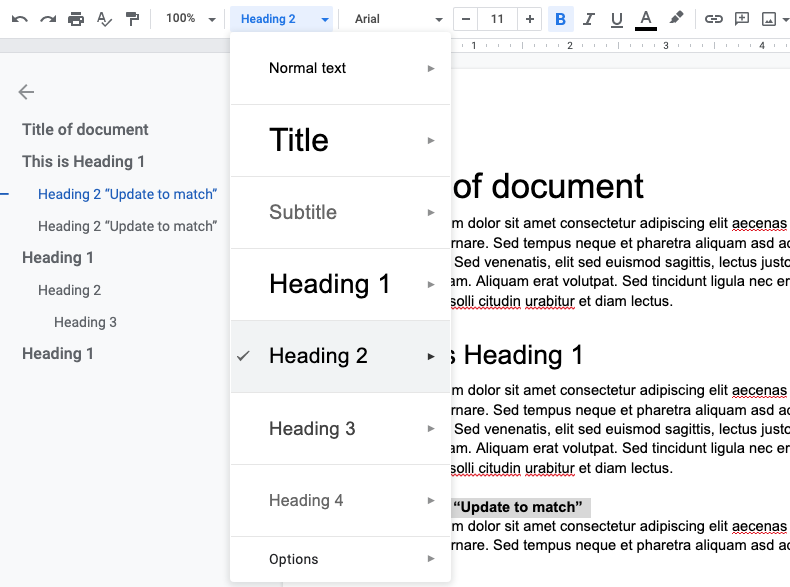
If you don’t want to change your current font format to the default Heading format, select “Update ‘Heading’ to match”. In the below example, the default Heading 2 format is then changed to bold Arial font, size 11.
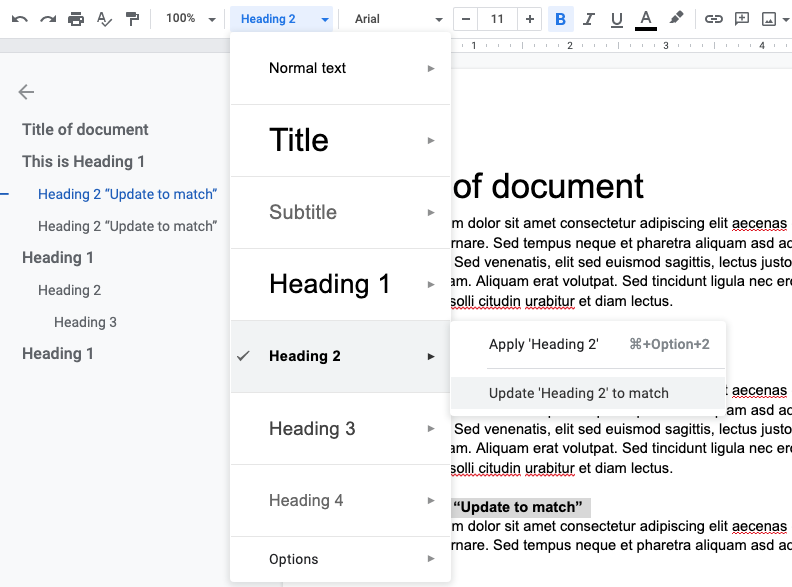
One thing to be aware of is that whenever you change font size or color, Google automatically populates the outline with that text even though an actual Heading style isn’t applied. Keep an eye on the outline to delete anything inaccurate when that happens to eliminate confusion and inconsistencies later on. Applying Headings manually is the best way to ensure it’s set up correctly.
We hope these user tips help you take better advantage of all Google Docs has to offer! For more tips and tricks, view our Google Drive blog.
![10 Google Chrome Features That Are a Big Help [Video Tutorials]](https://blog.mzltd.com/hubfs/Images/chrome-tips-blog-770.jpg)